
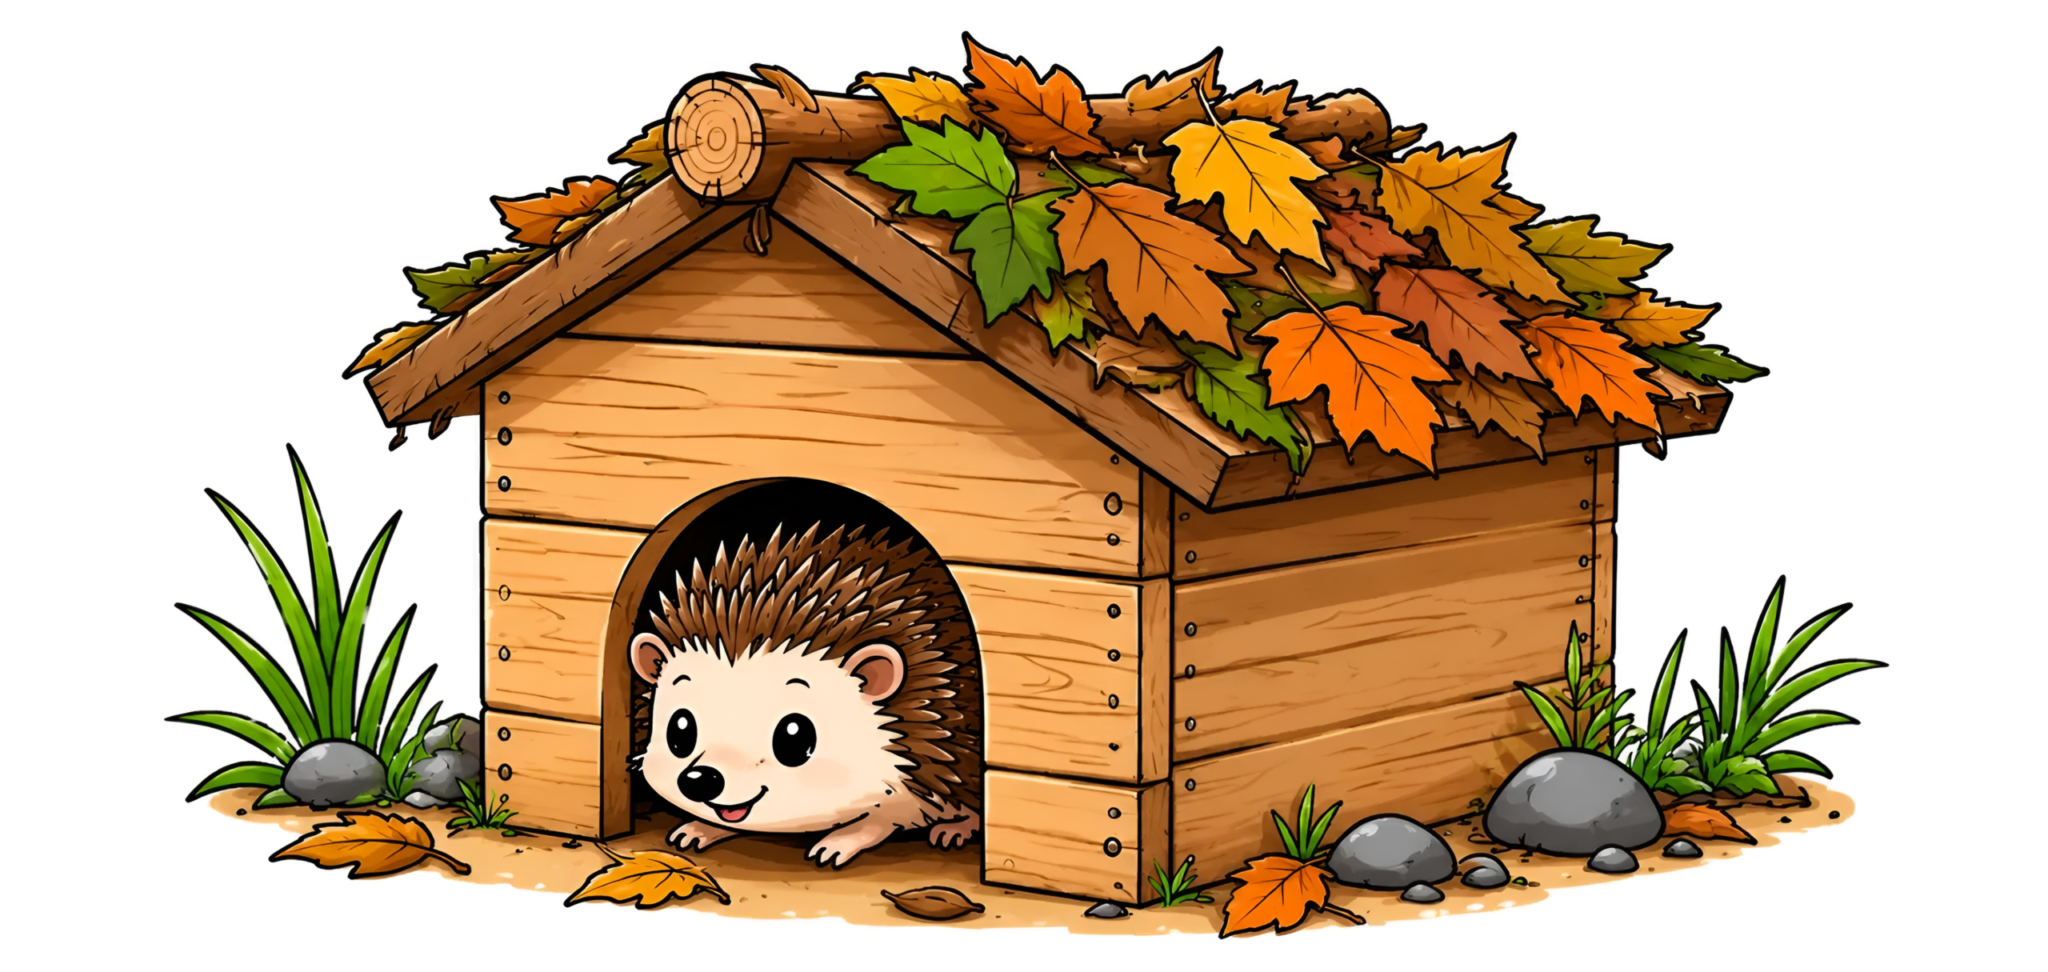
If you’ve got hedgehogs visiting your garden — or you want to attract them — knowing how to build a hedgehog house is one of the most genuinely useful things you can do for local wildlife. A well-built hedgehog house gives wild hedgehogs somewhere safe to sleep through the day, raise young in spring, and most critically, hibernate through winter. Done right, it costs very little, takes an afternoon, and can make a real difference for animals that are under increasing pressure from habitat loss across much of Europe.
Why Wild Hedgehogs Need Houses
Before getting into the build itself, it helps to understand what a hedgehog house is actually replacing. In undisturbed countryside, hedgehogs would naturally nest and burrow in dense hedgerows, leaf piles, compost heaps, and the bases of woodland edges — places that offer insulation, concealment, and stability. Modern gardens, with their tidy borders, hard surfaces, and lack of ground cover, often don’t provide much of that.
A well-positioned hedgehog house fills that gap. It gives an animal somewhere dry and sheltered to rest during the day, somewhere secure enough for a female to raise a litter, and — most importantly — somewhere insulated well enough to serve as a hibernation nest through winter. Since hedgehogs do hibernate in the UK and across Europe, the quality of their nest during that period can genuinely be a matter of survival.
The British Hedgehog Preservation Society actively encourages people to build or install hedgehog houses in their gardens, noting that artificial nest boxes are used readily by hedgehogs when placed correctly.
What You’ll Need
Building a hedgehog house doesn’t require woodworking skills or specialist tools. The materials are cheap and widely available. Here’s what you need for a basic but effective build:
For the main structure, untreated timber is essential — treated wood contains chemicals that can harm hedgehogs, so always check before buying. Rough-sawn timber works better than smooth planed wood because hedgehogs can grip rougher surfaces more easily. A piece of exterior-grade plywood or untreated softwood around 15–18mm thick is ideal for the walls and roof. You’ll need enough to cut six pieces: a floor, two side panels, a back panel, a front panel with an entrance hole, and a roof.
For fixings, use galvanized screws or nails that won’t rust. You’ll also want a waterproofing layer for the roof — roofing felt, a piece of old rubber pond liner, or even thick plastic sheeting will do the job. A length of entry tunnel (more on this below) and some dry leaves or untreated straw for initial bedding round things out.
Dimensions That Work
The internal chamber should be roughly 30cm x 30cm (about 12 inches square) and around 20–25cm tall inside. This is large enough for a hedgehog to move around comfortably and build a proper nest, but not so large that it loses its warmth. The entrance tunnel should be around 13cm x 13cm — wide enough for a hedgehog to pass through easily but narrow enough to exclude cats and foxes.
The tunnel is one of the most important features and one that DIY builds sometimes skip. Without a tunnel, the entrance is directly exposed, which means predators can reach in and the interior loses heat quickly. Adding a right-angle tunnel of around 30cm length — so the hedgehog has to turn a corner to enter the chamber — provides much better protection and insulation.
The People’s Trust for Endangered Species publishes detailed guidance on hedgehog habitat, including nest box design, and their specifications broadly align with these dimensions.
Step-by-Step: How to Build a Hedgehog House
Step 1 — Cut your panels. Cut the floor, back, two sides, and front panel to your target dimensions. The side panels should be slightly taller at the back than the front to create a gentle roof pitch that allows rainwater to run off. A slope of around 3–4cm is enough.
Step 2 — Cut the entrance hole. In the front panel, cut a rectangular hole 13cm wide and 13cm tall, positioned near the bottom of the panel. Keep the bottom of the hole flush with the floor level so hedgehogs can enter without having to climb.
Step 3 — Assemble the box. Screw the floor, sides, and back together first, then attach the front panel. Leave the roof off for now. Check that all internal edges are smooth enough that the hedgehog won’t snag on anything — hedgehogs have relatively soft bellies despite their protective quills, and rough internal edges can cause abrasions.
Step 4 — Build the entrance tunnel. Cut four pieces of timber to form a rectangular tunnel approximately 30cm long with an internal opening of 13cm x 13cm. Attach this to the front panel, aligned with the entrance hole. If you want to add a right-angle turn for extra predator protection, build two shorter tunnel sections and join them at 90 degrees.
Step 5 — Attach the roof. Fix the roof panel on top with screws, ensuring it overhangs the sides and front by a couple of centimetres to shed water. Cover the roof with roofing felt, rubber liner, or thick plastic sheeting, folding the edges down slightly over the sides and fixing with staples or tacks. Make sure the roof can be lifted or removed for annual cleaning — a simple hook-and-eye catch works well.
Step 6 — Add ventilation. Drill two or three small holes (around 1cm diameter) near the top of the back panel. These prevent condensation building up inside and keep the air fresh. Don’t skip this step — a damp, stuffy box is less likely to be used and can cause health problems for any animal inside.
Step 7 — Add initial bedding. Place a loose layer of dry leaves and untreated straw inside the chamber. The hedgehog will rearrange this to its own preference, but giving it something to work with encourages initial use. Never use hay — it can tangle around hedgehog legs and cause injuries. According to the Wildlife Trusts, dry deciduous leaves — particularly those from oak or beech — make ideal nesting material for hedgehogs.
Where to Place Your Hedgehog House
Placement is arguably as important as construction. A well-built house in the wrong spot will sit unused. Here’s what to aim for:
Position the house in a quiet, sheltered corner of the garden — under a hedge, against a wall or fence, or beneath dense shrubs. Avoid open areas where the house is exposed and visible. Hedgehogs are prey animals that rely on concealment, and a house sitting in the middle of a lawn is unlikely to attract them.
The entrance should face away from the prevailing wind and rain — in the UK, this usually means facing south or east. Avoid north or west-facing entrances if possible.
The house should sit on level ground. You can place it directly on bare soil or on a thin layer of leaves. Don’t put it on paving or concrete if you can avoid it, as this increases heat loss through the floor.
Partially bury the base of the house in leaves or cover the top with additional leaf litter and soil to improve insulation and help it blend into its surroundings. Some people camouflage their hedgehog house further with branches or a light covering of soil over the roof — this also adds thermal insulation.
The Royal Horticultural Society notes that hedgehog houses should be sited away from bird feeding stations and busy areas of the garden where activity might disturb a resting or hibernating hedgehog.
Making Sure Hedgehogs Can Actually Reach It
A hedgehog house in a sealed garden does nothing. Hedgehogs have large home ranges — they can cover one to two miles in a single night while foraging — and they need to be able to move between gardens to find food and nesting sites. Understanding where hedgehogs live in the wild makes it clear just how much ground they cover.
If your garden is fully fenced with no gaps, make a hedgehog-sized hole in the fence or gate — around 13cm x 13cm is the standard recommendation, often called a “hedgehog highway.” This single step, replicated across a street of gardens, can connect a whole network of habitat that was previously inaccessible.
The Hedgehog Street campaign, run jointly by the People’s Trust for Endangered Species and the British Hedgehog Preservation Society, has documented the significant impact that connected garden networks have on hedgehog populations in suburban areas.
When to Install and When Not to Disturb
The best time to install a hedgehog house is late summer or early autumn — giving it time to settle before hedgehogs begin looking for hibernation sites in October and November. That said, a house installed at any time of year can attract hedgehogs, particularly for daytime resting and summer nesting.
Once a hedgehog has moved in — you’ll notice leaves rearranged, possibly droppings near the entrance, and sounds of movement at dusk — leave it completely alone. Disturbing a hibernating hedgehog is dangerous: each time they rouse from torpor they burn through fat reserves, and repeated disturbance can leave them too depleted to survive the winter. The same applies to a mother with young in spring. If you need to check whether the house is occupied, do so briefly and quietly in the evening before hedgehogs become active, not during the day.
Because hedgehogs are nocturnal animals, you’re unlikely to see them entering or leaving during daylight. A hedgehog out in the daytime is usually unwell and worth checking on.
Annual Cleaning
Once you’re confident the house is unoccupied — typically in March or April after hibernation ends — give it a thorough clean. Remove all old nesting material, which may harbour parasites including hedgehog mites and fleas, and scrub the interior with boiling water. Don’t use chemical disinfectants — the residue can deter hedgehogs from returning. Allow it to dry completely before adding fresh dry leaves and replacing it in position.
The British Hedgehog Preservation Society specifically recommends boiling water as the safest cleaning method for hedgehog houses, for exactly this reason.
Common Mistakes to Avoid
Using treated wood is the most common error — always check that any timber is untreated before use. Making the entrance too large is another frequent problem; a hole much bigger than 13cm x 13cm allows cats and foxes to investigate or reach inside. Skipping the tunnel leaves the interior exposed and cold. Placing the house in a sunny, open spot makes it too warm in summer and too exposed generally. And checking on the house too frequently, especially in winter, risks disturbing a hibernating animal at exactly the wrong moment.
The Broader Picture
Building a hedgehog house is one piece of a larger puzzle. Paired with a hedgehog highway hole in the fence, a shallow dish of fresh water, a reduction in pesticide use, and a garden that has some rough, leaf-littered corners, a hedgehog house becomes part of a genuinely wildlife-friendly space. Hedgehog populations in the UK have declined significantly over recent decades — estimates from the State of Britain’s Hedgehogs report suggest rural populations have fallen by up to 75% since the 1950s, while urban and suburban populations have fared somewhat better, partly because of exactly the kind of garden-level interventions described here.
A hedgehog house won’t reverse that trend on its own. But it’s a concrete, practical thing you can do this weekend that gives a real animal a better chance.
Ready to go further for the wildlife in your care? Our best hedgehog products section is the place to start.